Welcome to my second blog about HexOS. I’m buying, building and installing HexOS on a NAS for my family home. I’m documenting my user journey as my small contribution to this amazing project. You can read my first post about choosing hardware here.

HexOS NAS software is designed to be simple to configure and use, empowering users to backup, access and share their data. Howeverm the first step is getting the hardware working and I’ve never built a PC before. Will I manage? I have my LTT screwdriver, my IFIXIT kit and my PC gaming brother looking after my kids for me – lets gooooo!
Table of Contents
Did I get scammed on ebay?
The private ebay sellers we’re great! Both went out on a cold Sunday night and sent the items fastest shipping when I explained what I was doing. Not only was this really great service but I felt like they were excited about it too! This feeling of community is one of my favourite things about buying second hand on-line.

However, the shipping of my seller refurnished hard drive was inadequate AND drive wasn’t the same brand that I ordered. I returned that drive and bought a brand new one from Amazon for the same price.
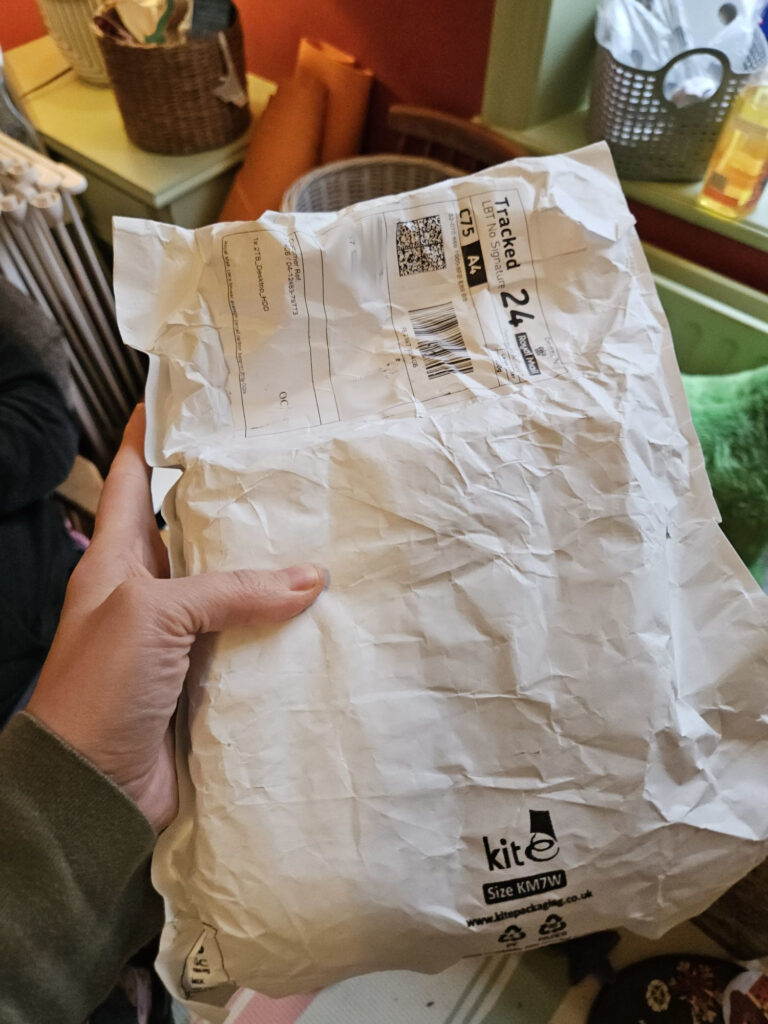
🔮 Future self says size of drives is very important! I wanted three drives so I would be able to “expand my pool” in the future. I thought the drives should ideally all be the same size, but didn’t actually check the two drives I already had before buying the third. I thought they were 2TB so bought another 2TB drive, however, the were actually 3TB. My bother assumed this wouldn’t be an issue, maybe worst case scenario the pool would be only 2TB. At least for now, however, hexos will only include drives the same size in the pool. So I then had to return the Amazon drive and buy a 3TB one, which I got from ebay again. Lot of faff. Check the size!
Step one: tidy the table
My kid said: “mummy what’s wrong with the table? Where has all our stuff gone?”
Okay so the above is partly for humour, but it’s important for fellow nerds to recognise that many people don’t have much space for tinkering. I live in a “two up two down” terrace in the north of England, built in 1860. These houses originally had four rooms and an outside toilet (sometimes shared between several houses!). My house has an indoor bathroom now thankfully, however, my family has one table to do our various hobbies on and eat meals at. There is no garage, no shed, no machine room… no pool to water cool a machine room either! So, after assembling the PC, the table needed to be cleared for people to eat at.
Step two: gathering everything together
Having assembled bought components and tools I also bought down my unused tower pc, screen, keyboard etc.
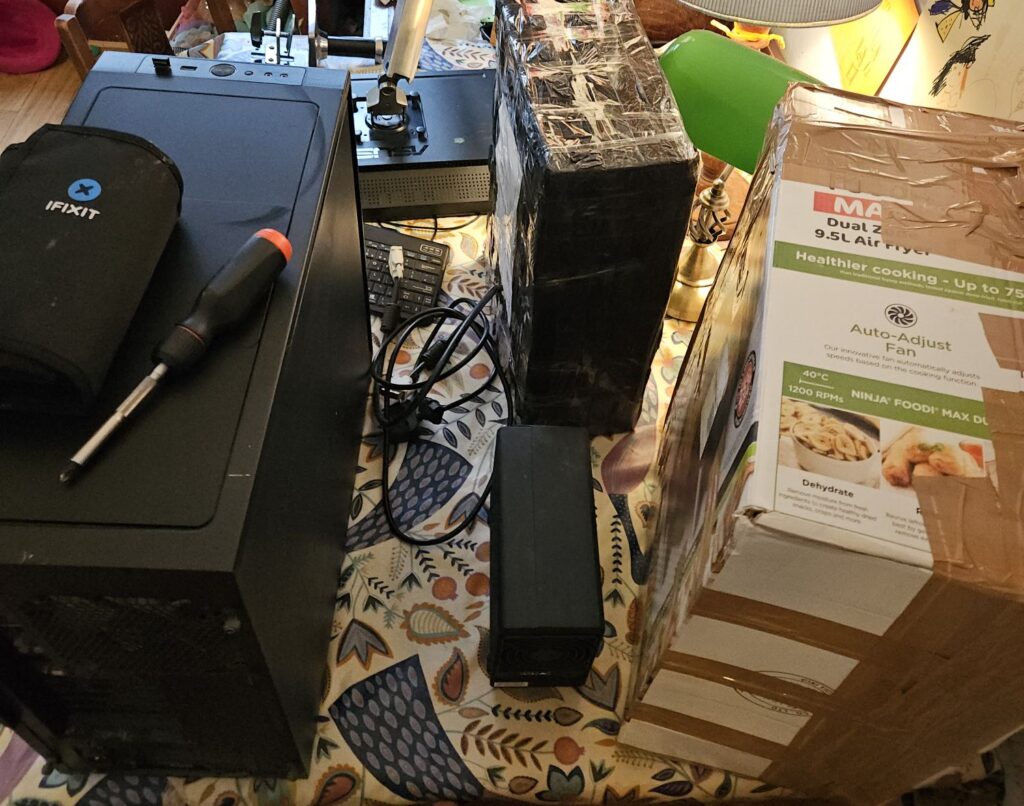
I am planning to keep my tower PC until I have sorted all the data on it. I was planning to “borrow the power supply” for a while. I think this was a very rapidly made decision because there wasn’t a power supply in the motherboard-ram-cpu bundle I baught and I was tired. I removed the power supply from my old PC.
🔮 Future self says just buy another f*** power suply! This was an annoyingly stupid decision. It never occurred to me the power supply would be plugged in to so. many. things. I suppose I assumed it just plugged into the motherboard, I didn’t realise it was plugged into everything! In retrospect this is obvious?! Now I have to basically rebuild my tower PC too! 🤦🏻
Step three: the build
The early stages of this were just google-do-google-do steps. This is how it went.
🔍 Goggled: “pc case side panel is stuck”
Mostly this needed brute force, I think the powder coat makes it harder to open.
🔍 Goggled: “how to ground yourself using a wrist strap”. I knew it needed doing and had one in my IFIXIT kit, but I wasn’t sure what to attached the crocodile to. The most useful info was that needs to be attached to bare metal not painted, so I attached myself to the hard drive bays. Not sure if this actually works in retrospect because they have rubber lined feet between them and the case.
I then wasn’t sure how to fit the motherboard in case however I guessed based on which way up based on the I/O at the back. But then the little standoff’s in the case didn’t line up with the motherboard holes so I had to look it up anyway.
🔍 Goggled: “how to fit motherboard in the case” and discovered the stand-offs can be unscrewed and moved! It’s a really clever system.
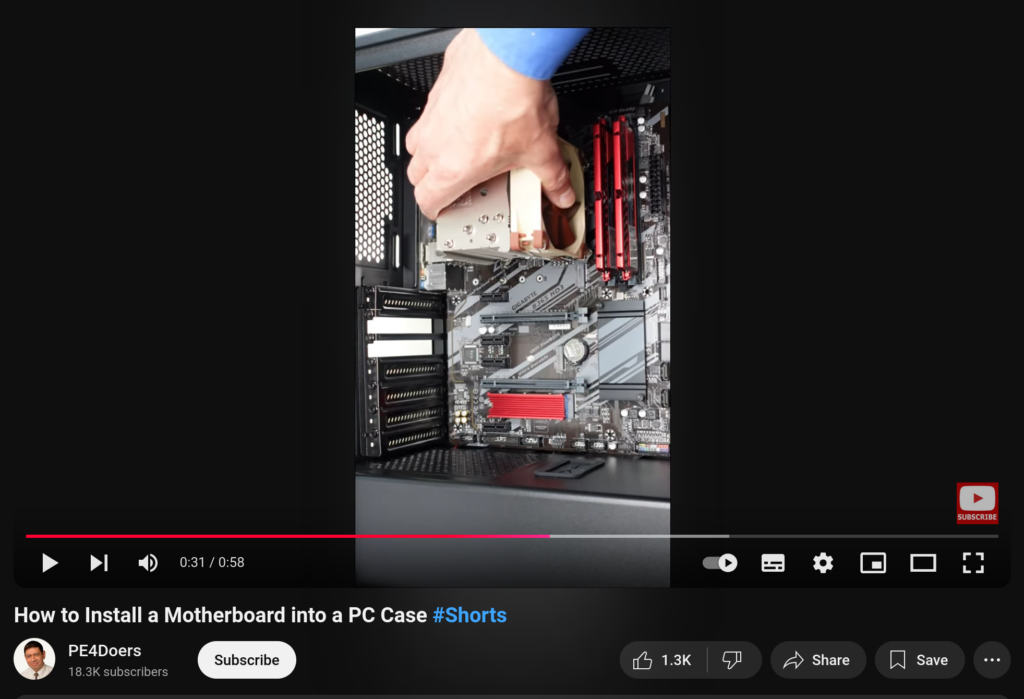
I watched some of the above video at this point. I had to move the stand-offs a few times despite measuring. I should have watched more of this video because I then had to take it all out again to put in the I/O shield then a forth time because I hadn’t put the GPU or ram in yet!
🙂 In retrospect: very glad I had my IFIXIT case with the correct dudah for moving the standoffs!
I educated-guessed how gpu fit in to the motherboard, that seemed fine.
🔍 Goggled: how to install ram sticks
I knew with 4 ram slots and 2 sticks I needed to put them in specific slots, I thought maybe slots 1 and 3 from the left but not sure!

I watched a video but it was not clear how to know which slots on my specific motherboard, though it did mention it varies so I…
🔍 Goggled: “m5a97 r2.0 where to install ram”
Initially found a guide on IFIXIT but this didn’t answer my question so I went back to the search results and found the motherboard manual. I did a control+f search for “a1” and skimmed past results that looked to be just part of a serial number etc. Eventually I found found A2 and B2 were the right slots.
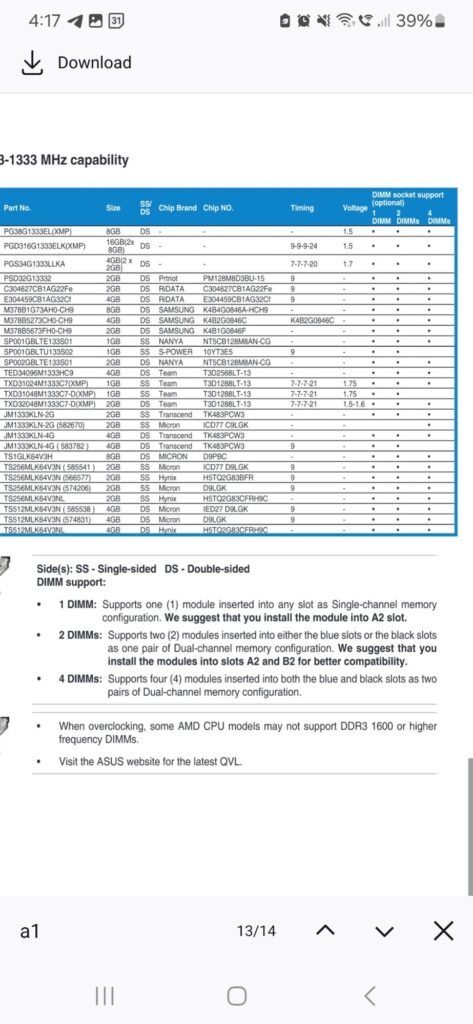
I guessed which way up to try the sticks in, and chose the blue one for slot A2 because I thought the colour was more regal and important looking (being honest here!). I knew from watching LTT that ram should “snap” in, but took me a moment to understand how the slots worked. Eventually I just pushed them down and found the holder things clicked closed themselves. Ace!
When the motherboard and components were all assembled it put it in the case and found I didn’t have screws for motherboard.
☎️ Phone a friend: I called my brother to see if I could use any old screws for the motherboard and he said as long as the head stays within the metal surrounds and dosen’t chaffe the board it should be fine, so I got some from my diy stuff.
I guessed how to put in the power supply, using the text being right way up and the fan position. The screws seemed fairly obvious to attach it.
Finally I manhandled the drives into the drive bays, I made several errors by assuming the process was more complicated than it is (they roll in to the frame, no screws) and got a few back to front etc but otherwise all good. This seems like a great choice of case for a NAS!
Step four: connecting stuff to other stuff
I really wasn’t sure where to start with this bit, it was an alien enough process that I couldn’t even really “see” places to connect things. For example, the audio pins didn’t look like places you would connect stuff to to me. I relied on the manual pretty hard, and on advice of my bother throughout.
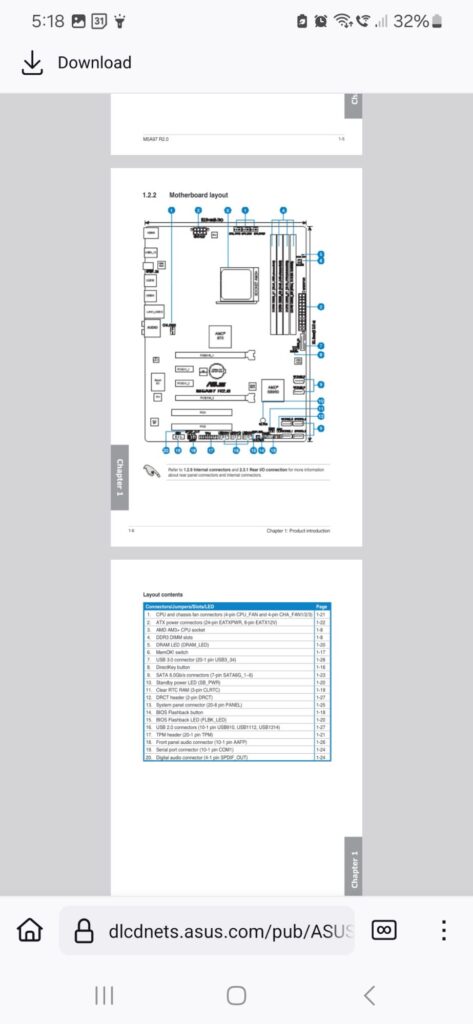
I decided to work from right to left so started by connecting the front I/O, and I noticed the connectors on the cables were labelled so I looked for something on board that matched
I had also assumed that each power supply dreadlock type thing had multiple different types of connectors bundled together, like a charging cable designed for multiple types of socket. I found it really interesting that instead they have different functions, e.g. just for hard drives for just for graphics card.
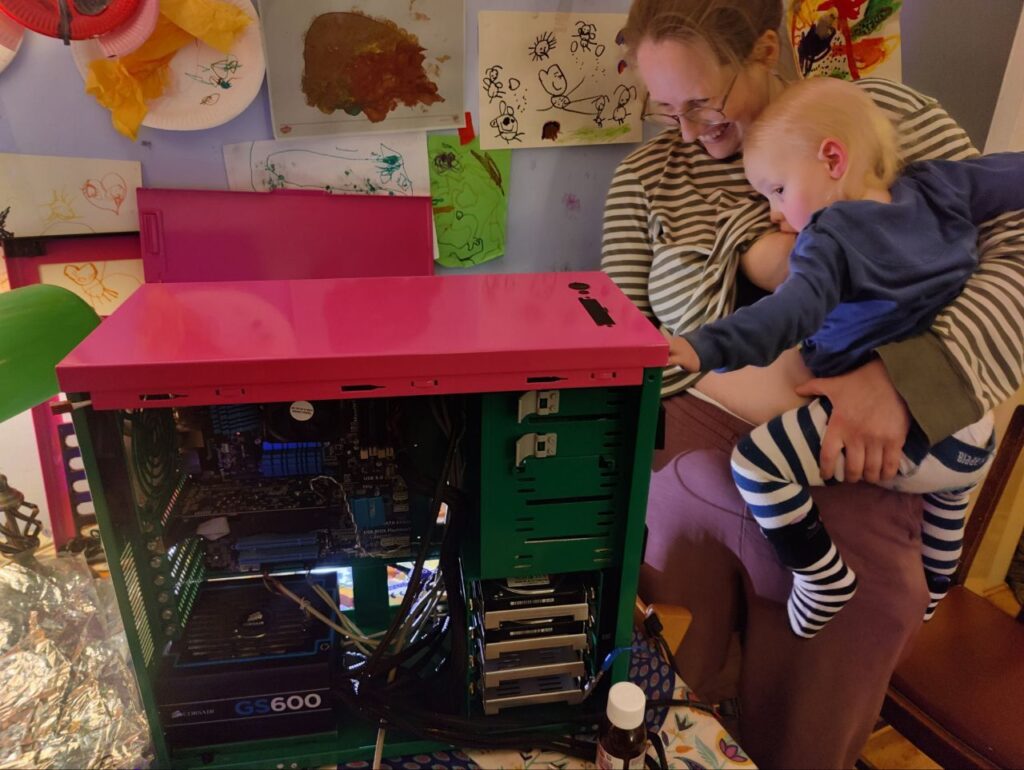
When connecting the drive, I realised I didn’t have any SATA cables so I stole them from my old tower.
🔍 Goggled: “cable called 1394 in pc” It was FireWire which I remember for ages ago and know I didn’t need, left it unplugged.
🔍 Goggled: “cable called ac97 in pc” Some fancy audio thing, figured didn’t need it, left it unplugged.
🔍 Goggled: “how to plug fans into pc” I was confused as fan plugs only had 3 holes and there were 4 pins on the board, but apparently that’s fine! Thanks LTT https://linustechtips.com/topic/1251934-where-do-i-plug-in-my-fans-that-cane-with-my-case/
🔮 Future self says dont try and close a case by slapping it repeatedly. You might injur your hand on the DVI cable.

Switch on and BIOS update
I was SUPER excited to finally plug in and boot up. The computer had in a SSD in from my brother and booted into an old windows install. As a Linux user I was terrified of catching something nasty so rebooted asap! (/s!)
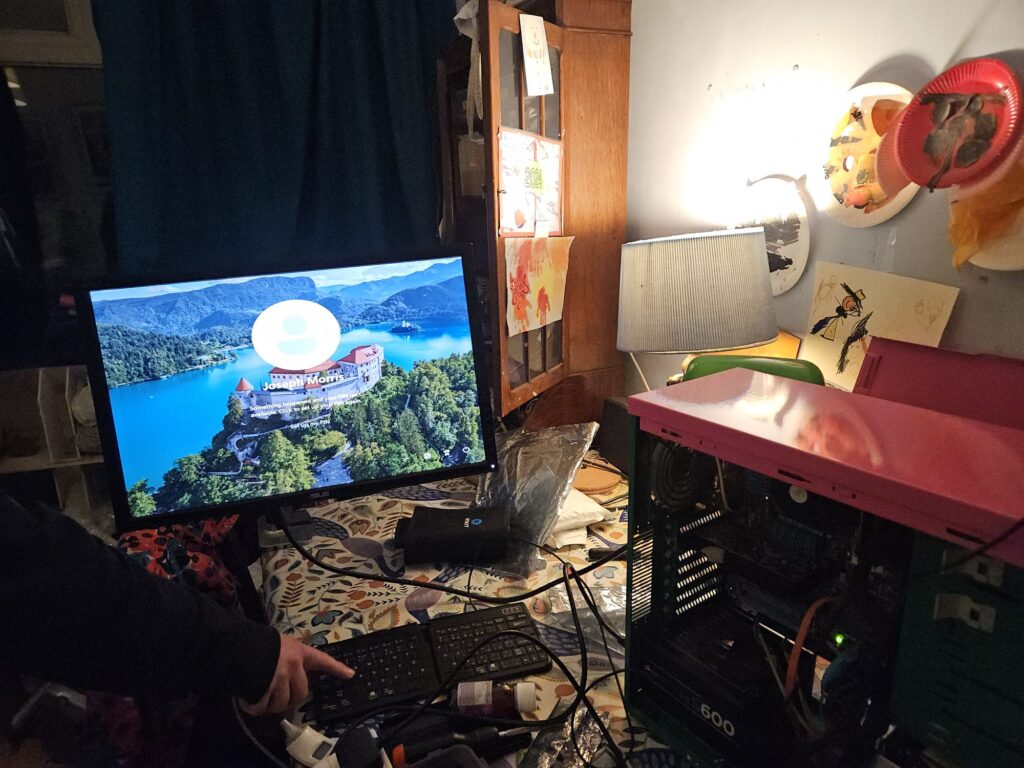
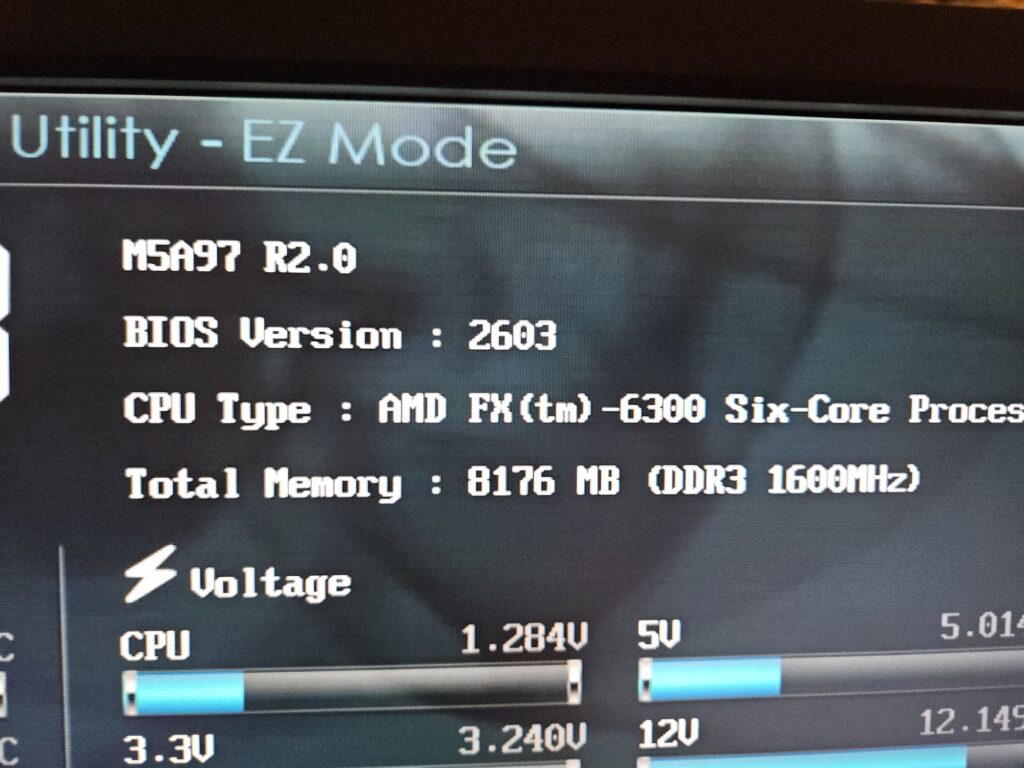
I had a strong sense that the BIOS should be up to date, I don’t know why I think this, I suspect it’s important for security but don’t know why. I checked on the asus website what the latest drivers were and found it was up to date anyway which was a relief as we were running out of time!
🙂 In retrospect: I really wish I had set aside some time and kit for cleaning the components before building. The case as musty but actually since building I’ve noticed that the power supply and CPU cooling are really dusty. I tried cleaning later on but it’s hard with everything in the case.
Things I did later / todo
I found a little tiny speaker and another cable with a HDD LED on it that I put in the case later, and I had to open it up several times to get the final hard drive in after installing. I need to plug in the front fan still.
Shopping list
- Fan extension cable
- Compressed air for cleaning
- More SATA cables
- Power supply for my main tower
Next stop, installing HexOS! Read it now